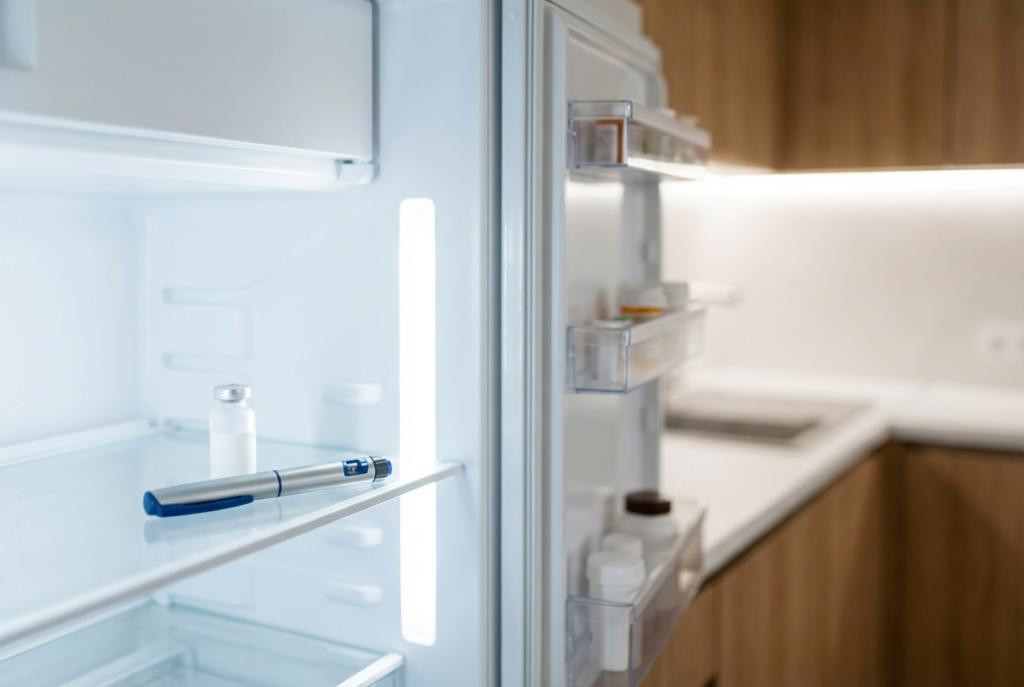
The night before your first Ozempic or Wegovy injection, most people do the same thing: Google “how to inject Ozempic” at 11pm. The pen is sitting in the fridge, and suddenly the idea of sticking a needle into yourself feels very real.
Before your first injection, it’s worth double-checking — confirm you’re eligible for GLP-1 treatment.
Here’s the good news — the NovoFine Plus needles that come with the Ozempic pen are the shortest and thinnest available from Novo Nordisk. Most people describe it as a small pinch at most. After the first two or three injections, it becomes routine.
This guide covers everything from unboxing to disposal.
Before You Inject — What You Need
Gather these before you start:
- Your Ozempic or Wegovy pen (from the fridge)
- A new needle (comes in the box)
- An alcohol swab
- A sharps disposal container or hard plastic bottle with a lid
- A clean, well-lit surface
Remove your pen from the refrigerator about 30 minutes before your dose — injecting cold medication can cause more discomfort.
Check Your Pen First
Before attaching a needle, check the medication window. Make sure the pen contains clear, colorless liquid. Do not use it if the liquid looks cloudy, colored, or contains particles.
Also check the expiration date on the pen label.
Step by Step — The Injection
Step 1 — Wash your hands
Wash with soap and water for at least 20 seconds. This is the most important infection prevention step.
Step 2 — Attach a new needle
Pull the paper tab off a new needle. Screw it straight onto the pen tip until it feels secure. Pull off the outer needle cap and keep it — you’ll need it later. Then pull off the inner needle cap and dispose of it.
Step 3 — Prime the pen (new pen only)
If this is your first time using a new pen, you need to prime it to remove air. Turn the dose selector to the “flow check” symbol (two lines). Point the pen up, tap gently, then press the dose button until a drop appears at the needle tip. If no drop appears, repeat up to 6 times. If still no drop, change the needle and try again.
Step 4 — Select your dose
Turn the dose selector until it shows your prescribed dose — 0.25mg for first-time users. You’ll hear and feel clicks as you turn it.
Step 5 — Choose your injection site
Ozempic is injected under the skin (subcutaneously) in your stomach (abdomen), thigh, or upper arm.
- Stomach — most popular, easiest to access, typically the least painful. Inject at least 2 inches away from your belly button, anywhere in the soft fatty area around it.
- Thigh — the upper outer thigh. Sit down, inject into the fatty area on the top of your leg.
- Upper arm — the outer fatty area of the upper arm. Harder to self-inject here but manageable.
The most important practice is to rotate between different injection sites to prevent tissue damage. Don’t inject in the same spot two weeks in a row.

Step 6 — Clean the site
Wipe the injection area with an alcohol swab and let it dry for a few seconds.
Step 7 — Inject
Pinch a small fold of skin if you prefer — this can make it easier. Insert the needle at a 90-degree angle and inject the medication slowly. Press and hold the dose button all the way down.
Step 8 — Hold for 6 seconds
After the dose counter returns to 0, hold the needle in place for at least 6 seconds. This ensures the full dose is delivered. Don’t pull out early.
Step 9 — Remove and dispose
Pull the needle straight out. Place the outer needle cap back on using a one-hand technique — don’t reach for the cap with your free hand. Unscrew the capped needle and place it in your sharps container. Never re-use needles.
When to Inject
Take Ozempic once a week on the same day every week. You can take it with or without food. You may change the day of the week as long as your last dose was taken 2 or more days before.
Many people inject at night — this way you sleep through the first few hours when nausea is most likely to hit. Others prefer Sunday morning so it’s tied to a consistent routine. Pick what works for you and stick with it.
How to Store Your Pen
Store new, unused pens in the refrigerator between 36°F–46°F (2°C–8°C). Once you start using a pen, you can store it at room temperature up to 86°F (30°C) or keep it in the fridge. Dispose of the pen after 56 days even if medication remains.
Keep pens away from direct sunlight and heat. Never freeze them — a frozen pen must be thrown away.
Common Mistakes to Avoid
Injecting too close to the belly button
Stay at least 2 inches away from the navel — the skin is tighter there and absorption is less consistent.
Not rotating sites
Injecting in the same spot repeatedly causes lumps of hardened tissue (lipohypertrophy) that reduce absorption. Rotate systematically — left abdomen, right abdomen, left thigh, right thigh, and so on.
Pulling the needle out too fast
Hold for the full 6 seconds after the counter hits zero. Pulling out early means you may not get your full dose.
Skipping the prime on a new pen
Only new pens need priming. If you skip this, you may get an incomplete first dose.
Sharing your pen
Never share your pen with other people even if the needle has been changed — this can transmit serious infections.
Injecting through clothing
Always inject directly into bare skin.
What to Expect After Injection
Some people feel nothing at all. Others notice mild redness or a small raised bump at the injection site — this usually disappears within an hour.
Nausea, if it happens, typically starts a few hours after injection and can last 24–48 hours. It’s most common in the first few weeks and after dose increases. See our full guide on managing Ozempic nausea →
Quick Reference Checklist
Before every injection:
- Pen out of fridge 30 min before
- Check liquid is clear and colorless
- Wash hands
- New needle attached
- Correct dose selected
- Site cleaned with alcohol swab
- Rotated from last injection site
After every injection:
- Held for 6 seconds
- Needle safely disposed in sharps container
- Pen stored correctly
- Date noted for next weekly injection
Have more questions about starting GLP-1? Read Your First 8 Weeks on GLP-1 → or visit our complete FAQ →
Medical Disclaimer
The content on this page is for informational and educational purposes only. It reflects general user experiences and publicly available clinical information about GLP-1 medications — not personal medical advice. Every person’s health situation is different. Before starting, adjusting, or stopping any medication or treatment, please consult a licensed healthcare provider or specialist who can evaluate your individual circumstances.